
'Bright Bouncing Baby Boy' by aprilderek
A colorful collection to bring a bit of cheer into your nursery:)
 Fun Felt Garland - ... $19.00 | 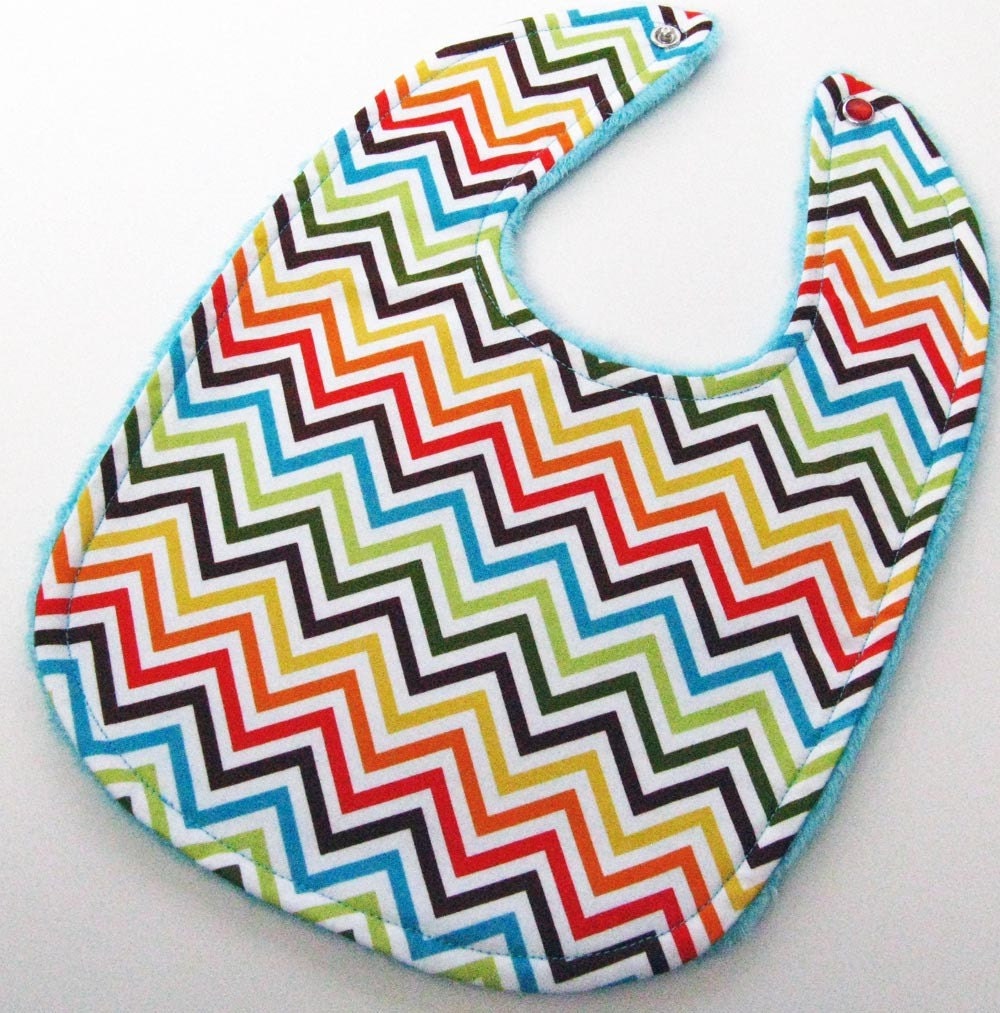 Baby Bib - Zig Zag $7.50 | 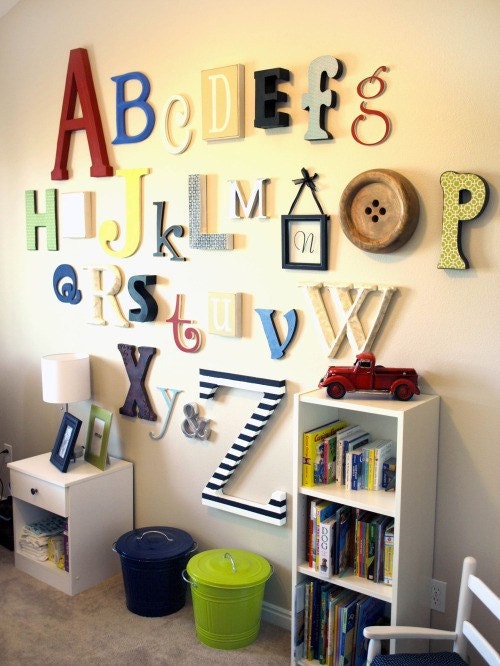 Alphabet Set -Woode... $175.00 | 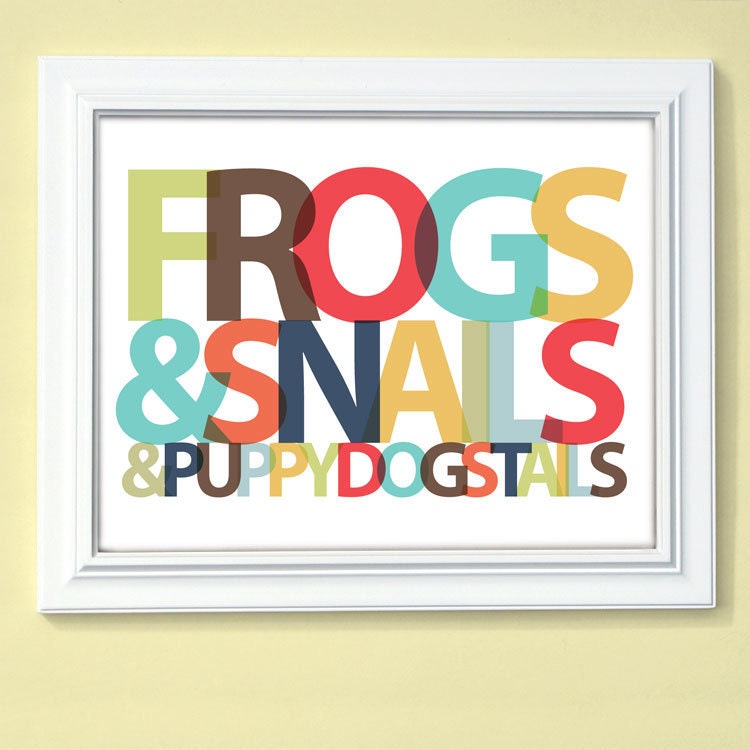 Personalized Boys R... $18.00 |
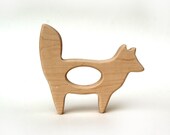 Wooden Teether Fox ... $12.00 | 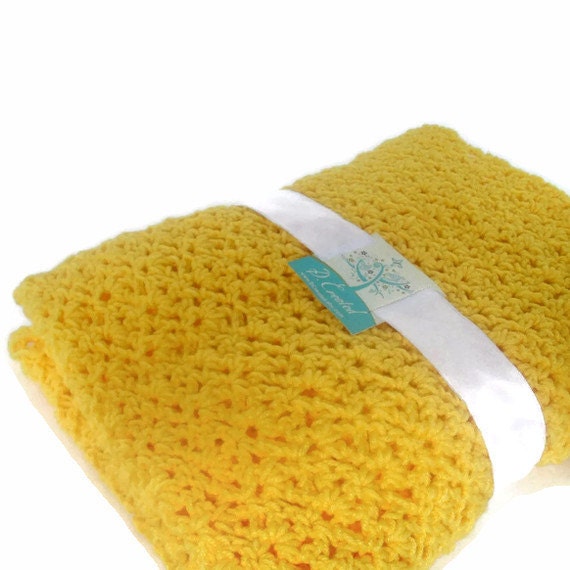 Yellow Crochet Baby... $49.00 | 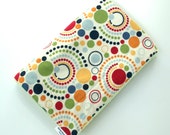 Baby Boy Blanket Ba... $28.00 | 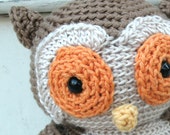 Amigurumi Crochet P... $5.00 |
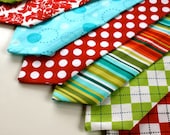 Little Guy HOLIDAY ... $13.00 | 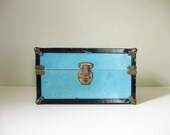 vintage blue metal ... $24.00 | 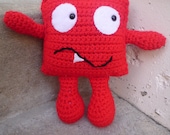 Mugsee Uglee $10.00 | 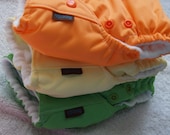 3 Pack SNUGS one si... $39.00 |
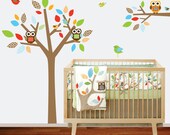 Boys Nursery Tree a... $125.00 | 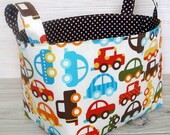 Fabric Bin Storage ... $18.00 | 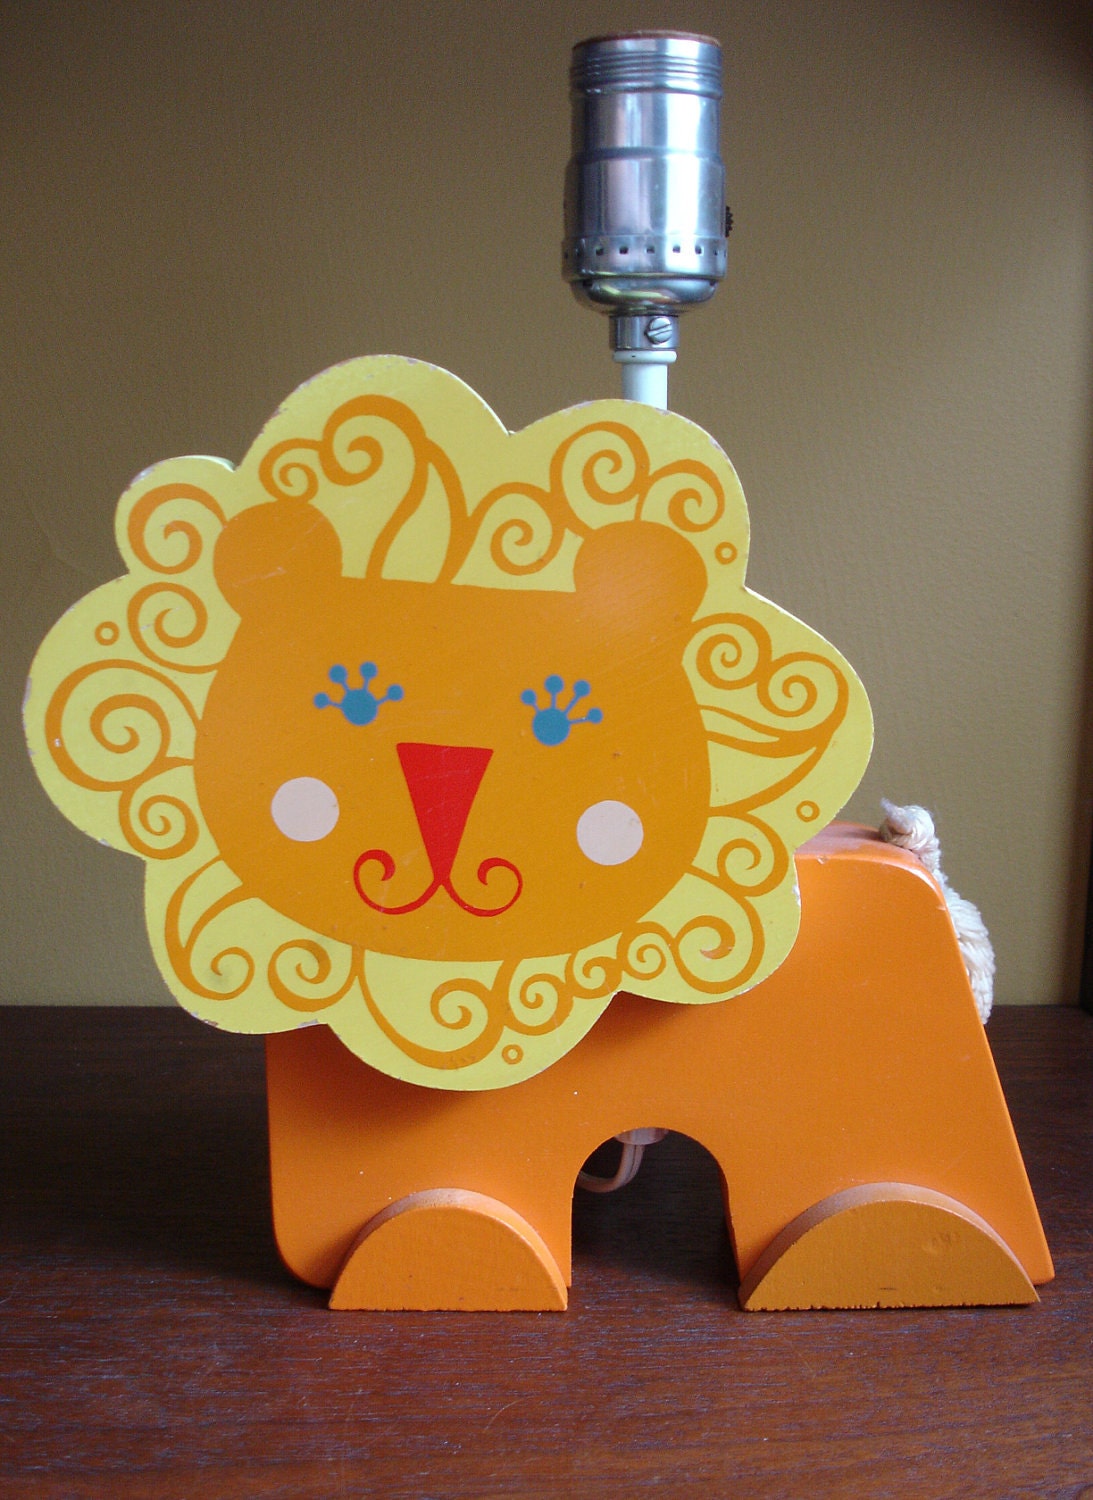 Adorable vintage Li... $39.99 |  Baby Mobile in Colo... $55.00 |


